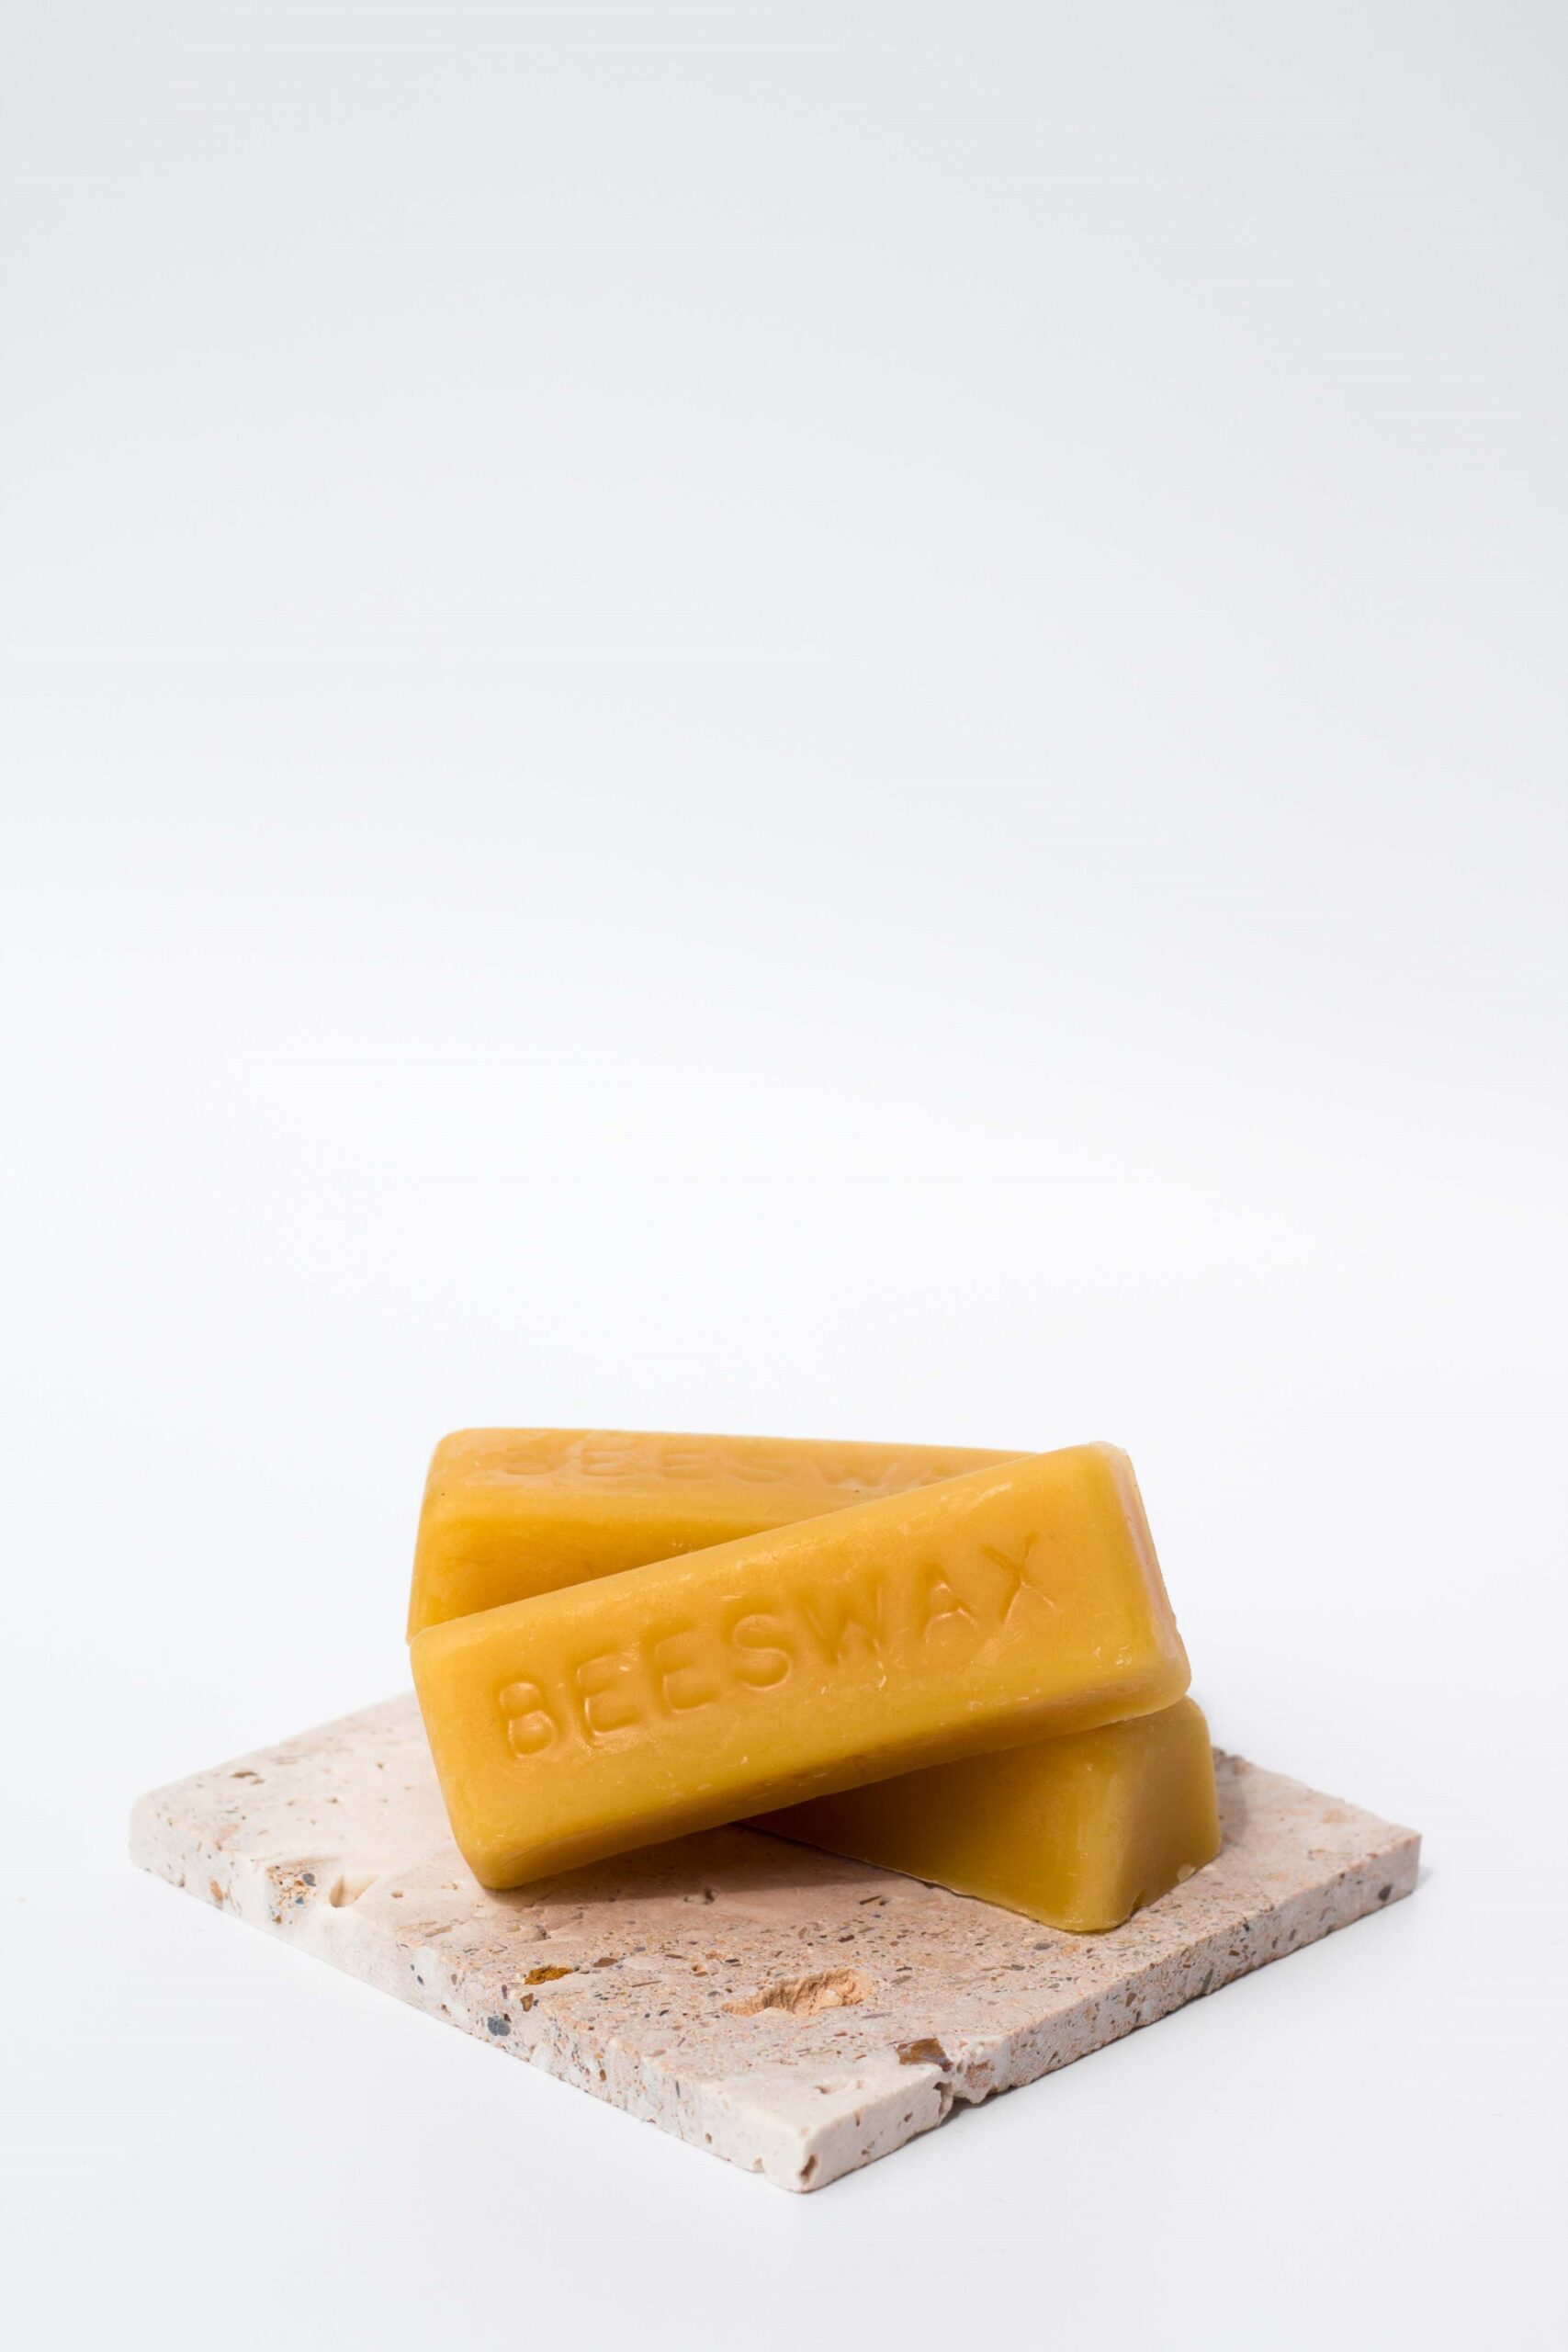
These handy beeswax mending bar can help restore your beeswax wrap to mint condition and you can even make your own beeswax wraps with them!
One beeswax mending bar can:
- Mend up to 4 (40g bar) or 8 (60g bar) medium-sized beeswax wraps
- DIY up to 2 (40g bar) or 4 (60g bar) medium-sized beeswax wraps
Material
Beeswax, jojoba oil & tree resin
How To Use
Method 1
1) Grate or chop mending bar into small pieces and sprinkle evenly over cotton fabrics
2) Line a baking tray with baking paper and pop into the oven at 80C to 100C for five minutes or until the wax has fully melted. Anything above 100C is not good for the wax.
3) Remove from oven (careful, it’s hot!). Quickly peel the fabric away from the baking paper. Wave the fabric around gently until the wax is cool and it’s ready to use.
4) If needed, sprinkle additional beeswax over any spots that are not yet coated. Pop it back into the oven. Let it cool on a rack and it’s ready!
Method 2
1) Grate or chop mending bar into small pieces.
2) Line the ironing board with baking paper and place your fabric on top of the baking paper. Sprinkle the chopped mending bar evenly over the cotton fabrics.
3) Lay another piece of baking paper over the fabric and iron over. Do ensure that you monitor the heat as anything above 100C is not good for the wax.
4) Quickly peel the fabric away from the baking paper. Wave the fabric around gently until the wax is cool and it’s ready to use.
5) If needed, sprinkle additional beeswax over any spots that are not yet coated. Pop it back into the oven. Let it cool on a rack and it’s ready!



mail.annettechen (verified owner) –
A great way to extend the life of beeswax wraps! I’d recommend to chill the bar in the fridge for easier grating, especially in Singapore weather. I also used an iron instead of the oven so I can distribute the wax evenly over the fabric. I used baking paper above and below the fabric to ensure that the wax doesn’t get onto the iron or the ironing board.